This post contains affiliate links. This means I will make a commission at no extra cost to you should you click through and make a purchase [ “As an Amazon Associate, I earn from qualifying purchases.” ]. Read the full disclosure here.
2013 Chevy Cruze Headlight Bulb GuideMechanic.Com Are you looking to replace the headlight bulb on your 2013 Chevy Cruze? Look no further! In this detailed and comprehensive guide, we will walk you through the entire process.
Whether you’re a car enthusiast or a beginner, this article will provide you with all the information you need to know about the 2013 Chevy Cruze headlight bulb replacement.
First introduced in 2008, the Chevy Cruze quickly gained popularity for its sleek design and reliable performance. However, like any other vehicle, over time, the headlights may start to dim or burn out.
It’s essential to have a well-functioning headlight to ensure your safety and visibility on the road. In this guide, we will cover everything from selecting the right bulb to the step-by-step installation process.
Understanding Headlight Bulb Types

When it comes to headlight bulbs, there are various types to choose from, each with its own set of features and advantages. Let’s explore the different types of headlight bulbs available for the 2013 Chevy Cruze:
Halogen Bulbs
Halogen bulbs are the most common type of headlight bulbs found in vehicles today. They are relatively inexpensive and provide a warm, yellowish light.
See Also: Instrument Panel Lights
Halogen bulbs use a tungsten filament enclosed in a halogen gas-filled glass capsule. While they are affordable and readily available, they tend to have a shorter lifespan compared to other bulb types.
HID (High-Intensity Discharge) Bulbs
HID bulbs, also known as xenon bulbs, produce a significantly brighter light than halogen bulbs. They use an electric arc to create light and require a ballast to regulate the voltage.
HID bulbs are known for their bluish-white light output, which provides excellent visibility at night. However, they are more expensive than halogen bulbs and may require professional installation due to their complex wiring system.
LED (Light-Emitting Diode) Bulbs
LED bulbs are becoming increasingly popular in the automotive industry due to their longevity and energy efficiency. They produce a bright, white light and have a longer lifespan compared to halogen or HID bulbs.
LED bulbs are also known for their instant on/off response, making them a safer option. However, they tend to be more expensive upfront, but their long-term benefits outweigh the initial cost.
Now that you have an understanding of the different types of headlight bulbs available for your 2013 Chevy Cruze, let’s move on to researching the compatible bulb sizes.
Researching Compatible Bulb Sizes
Knowing the correct bulb size is crucial when replacing your headlight. Using the wrong size can lead to improper fitment and poor performance.
To determine the compatible bulb size for your 2013 Chevy Cruze, you can refer to the owner’s manual or consult an online bulb size chart specifically designed for your vehicle.
The 2013 Chevy Cruze typically uses H11 bulbs for the low beam and 9005 bulbs for the high beam. However, it’s always a good idea to double-check the bulb size before making a purchase. Ensuring the correct bulb size will guarantee a seamless installation process and optimal performance.
Gathering the Necessary Tools
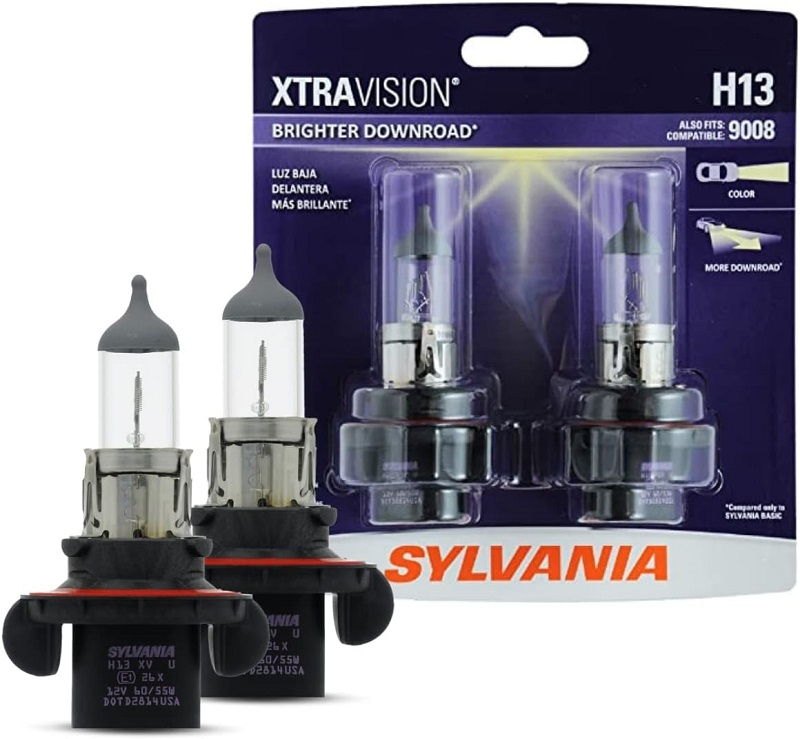
Check out this SYLVANIA – H13 XtraVision – High Performance Halogen Headlight Bulb, High Beam, Low Beam and Fog Replacement Bulb (Contains 2 Bulbs)
Before embarking on the headlight bulb replacement journey, it’s essential to gather all the necessary tools and equipment. Here’s a list of tools you may need:
1. Safety Gear
Always prioritize safety when working on your vehicle. Wear protective gloves and safety glasses to prevent any injuries during the replacement process.
2. Screwdriver Set
A set of screwdrivers, including flathead and Phillips head screwdrivers, will come in handy for removing screws and other fasteners.
3. Pliers
Pliers can be useful for disconnecting electrical connectors or removing stubborn clips.
4. Trim Removal Tools
Trim removal tools help in safely prying off plastic clips and trim pieces without damaging them.
5. Torx Bit Set
Some headlight assemblies may have Torx screws that require a corresponding Torx bit for removal.
6. Replacement Bulbs
Make sure you have the new headlight bulbs ready for installation. Choose a type and brand that suits your preferences and budget.
See Also: H11B Bulb: Installation Guide for H11B Bulbs
Having these tools readily available will ensure a smooth and hassle-free headlight bulb replacement process.
Preparing for the Replacement
Before diving into the headlight bulb replacement, it’s crucial to prepare your vehicle and create a safe working environment. Here’s a step-by-step guide to help you get ready:
1. Park in a Safe Location
Find a well-lit and flat area to park your Chevy Cruze. Engage the parking brake and turn off the engine to prevent any accidents.
2. Open the Hood
To access the headlight assembly, open the hood of your vehicle and secure it with the safety latch. This will provide you with ample space to work.
3. Identify the Correct Headlight
Locate the headlight that needs to be replaced. The driver’s side and passenger’s side headlights may have different bulbs, so it’s essential to identify the correct one.
4. Disconnect the Battery (Optional)
Although not mandatory, disconnecting the battery can add an extra layer of safety when working with electrical components. This step is particularly important if you are replacing the HID bulbs.
Removing the Old Headlight Bulb
Now that you’re prepared, it’s time to remove the old headlight bulb. Follow these steps to ensure a smooth removal process:
1. Access the Headlight Assembly
To access the headlight bulb, you may need to remove the headlight assembly cover or a protective dust cap. Refer to your vehicle’s manual or inspect the assembly to determine the specific method for your Chevy Cruze.
2. Remove Electrical Connectors
Before removing the bulb, carefully disconnect any electrical connectors attached to it. Gently press the release tab and pull the connector away from the bulb.
3. Remove the Retaining Clip
In some headlight assemblies, a retaining clip holds the bulb in place. Locate the clip and carefully release it by pressing or sliding it to the side, depending on the design.
4. Extract the Old Bulb
Once the retaining clip is released, you can safely remove the old headlight bulb. Handle the bulb with care, avoiding touching the glass surface, as skin oils can cause premature bulb failure.
Selecting the Perfect Replacement Bulb
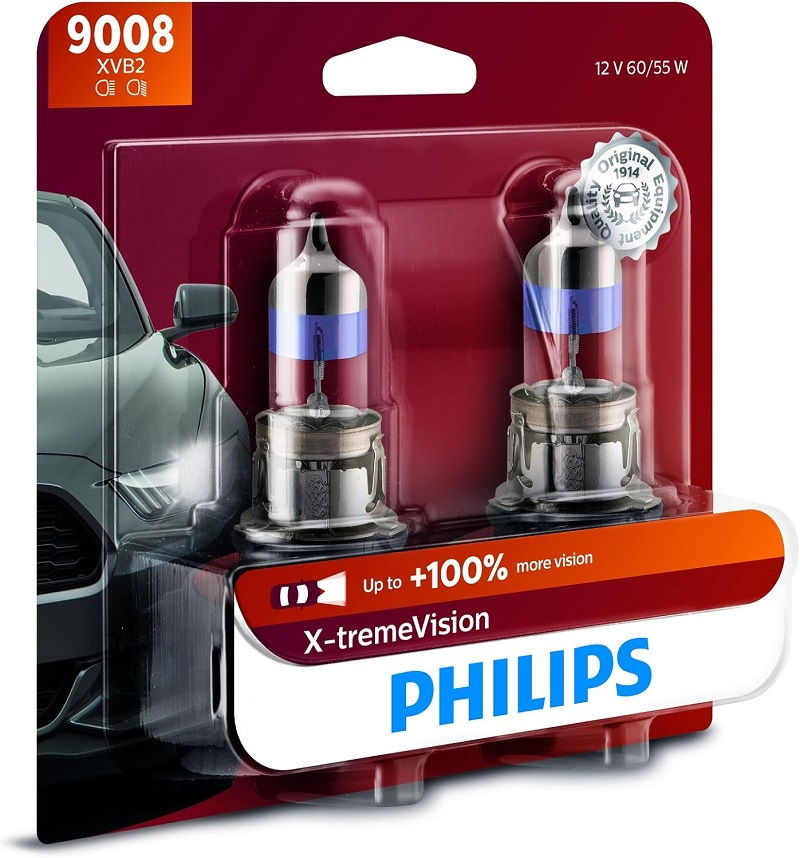
Check out this Philips Automotive Lighting 9008 X-tremeVision Upgrade Headlight Bulb with up to 100% More Vision, 2 Pack, 9008XVB2
Choosing the right replacement bulb is essential for optimal performance and compatibility. Consider the following factors when selecting a new headlight bulb for your 2013 Chevy Cruze:
Brightness
Decide on the desired brightness level for your headlights. Different bulbs offer varying levels of brightness, so choose one that suits your needs and preferences.
Color Temperature
Consider the color temperature of the bulb. Some bulbs emit a warm, yellowish light, while others produce a cool, bluish-white light. Choose a color temperature that enhances visibility and complements your vehicle’s aesthetics.
Longevity
Take into account the lifespan of the bulb. LED bulbs tend to have a longer lifespan compared to halogen or HID bulbs, making them a cost-effective choice in the long run.
Price
Set a budget for your replacement bulb. Research different brands and compare prices to find a bulb that offers the best value for money without compromising quality.
Compatibility
Ensure that the replacement bulb is compatible with your 2013 Chevy Cruze. Refer to the bulb size chart or consult with a professional to avoid purchasing the wrong bulb.
See Also: 2006 Silverado Headlights – Installation & Cost
By considering these factors, you can select the perfect replacement bulb that meets your requirements and enhances your driving experience.
Installing the New Headlight Bulb
With the new bulb in hand, it’s time to install it in your 2013 Chevy Cruze. Follow these steps for a seamless installation process:
1. Insert the New Bulb
Carefully insert the new headlight bulb into the socket, making sure it is properly aligned. Avoid touching the glass part of the bulb to prevent any potential damage and decrease its lifespan.
2. Secure the Retaining Clip
If your headlight assembly has a retaining clip, secure it back in place to hold the bulb firmly. Ensure that the clip is fully engaged to prevent any vibration or movement while driving.
3. Reconnect Electrical Connectors
Reattach the electrical connector to the bulb until you hear a clicking sound. This indicates that the connector is securely attached.
4. Test the Headlight
Before reassembling the headlight assembly, it’s crucial to test the new bulb to ensure it’s functioning correctly. Turn on your headlights and verify that both the low beam and high beam are working as intended. If the bulb doesn’t illuminate or flickers, double-check the connection and alignment to ensure proper installation.
5. Repeat the Process (If Necessary)
If you need to replace the bulb on the other side, repeat the entire process for the second headlight assembly. It’s always recommended to replace both bulbs simultaneously to ensure consistent lighting output.
Testing the Headlight
After the installation, it’s crucial to test your new headlight bulb to ensure it’s functioning correctly. Here’s a step-by-step guide to help you verify that your headlights are in optimal condition:
1. Position Your Vehicle
Park your Chevy Cruze on a level surface, preferably facing a wall or garage door. Make sure your vehicle is at an appropriate distance from the wall to avoid any damage.
2. Turn on the Headlights
Switch on your headlights and ensure that both the low beam and high beam are activated. If your vehicle has an automatic headlight feature, manually override it to ensure both beams are illuminated.
3. Observe the Light Output
Pay close attention to the light output of both headlights. They should emit a clear and bright beam without any flickering or dim areas. If you notice any abnormalities, such as uneven or dim light, it may indicate an issue with the bulb installation or alignment.
4. Check for Proper Alignment
Inspect the alignment of your headlights by observing the beam pattern on the wall. The beam pattern should be level and symmetrical, with the cutoff line hitting at the appropriate height. If the beams are misaligned, consult your vehicle’s manual or seek professional assistance to adjust them properly.
Troubleshooting Common Issues
While the headlight bulb replacement process is relatively straightforward, some common issues may arise. Here are a few troubleshooting tips to help you overcome potential problems:
Flickering Lights
If your new headlight bulb is flickering, it could be due to a loose connection or a faulty bulb. Double-check the electrical connector and ensure it’s securely attached. If the issue persists, try swapping the bulb with another one to rule out any defects.
Incorrect Bulb Alignment
If you notice that your headlights are misaligned after the bulb replacement, it may require readjustment. Consult your vehicle’s manual for instructions on how to properly align the headlights. Alternatively, seek professional assistance to ensure accurate alignment.
Insufficient Light Output
If you feel that the new bulb is not providing enough light, it could be due to a lower brightness level or an incompatible bulb.
See Also: 1994 Chevy Silverado Headlights Not Working
Consider upgrading to a higher brightness bulb or consult an automotive specialist for recommendations on bulbs that better suit your visibility needs.
Maintenance Tips for Longevity
To ensure the longevity of your new headlight bulb and maintain optimal performance, consider implementing the following maintenance tips:
Clean the Headlight Lens
Over time, dirt, grime, and debris can accumulate on the headlight lens, reducing light output. Regularly clean the lens using a mild soap solution and a soft cloth to remove any buildup, maintaining clear visibility.
Inspect for Moisture or Condensation
Check your headlights periodically for any signs of moisture or condensation inside the assembly. Moisture can damage the bulb and affect its performance. If you notice any water buildup, address the issue promptly to prevent further damage.
Replace Bulbs in Pairs
For consistent lighting output, it’s recommended to replace both headlight bulbs simultaneously. Even if only one bulb has burned out, the other bulb may soon follow suit due to similar usage and aging.
Regularly Check Bulb Functionality
Perform routine checks on your headlights to ensure they are functioning correctly. Turn them on and off periodically to verify that both the low beam and high beam are operational.
Be Mindful of Driving Conditions
When driving in harsh conditions, such as heavy rain or snow, be cautious of potential damage to your headlights. Avoid submerging your vehicle in deep water and take extra care when cleaning your headlights to prevent any water intrusion.
In conclusion, replacing the headlight bulb on your 2013 Chevy Cruze can seem daunting, but with the right guidance, it can be a straightforward process.
This comprehensive guide has provided you with detailed information on bulb types, sizes, installation steps, troubleshooting tips, and maintenance practices.
By following these instructions, you can enhance your visibility on the road and keep your Chevy Cruze looking sleek and stylish. Stay safe and enjoy your well-lit drives!
See Also: 2021 Silverado Headlight Guide
- P007F 62 Code Range Rover - June 10, 2024
- P007F Ford Focus: Causes, Diagnosis, and Solutions - June 5, 2024
- P0080 Ford: Causes, Diagnosis, and Solutions - May 31, 2024


