
This post contains affiliate links. This means I will make a commission at no extra cost to you should you click through and make a purchase [ “As an Amazon Associate, I earn from qualifying purchases.” ]. Read the full disclosure here.
Briggs and Stratton Spark Plug Replacement GuideMechanic.Com When it comes to maintaining your Briggs and Stratton engine, one crucial task that often gets overlooked is spark plug replacement.
A worn-out or faulty spark plug can lead to poor engine performance, decreased fuel efficiency, and even engine misfires.
See Also: 2003 Honda Accord Spark Plugs
To ensure your engine runs smoothly and efficiently, it’s essential to know when and how to replace the spark plug.
In this comprehensive guide, we will walk you through everything you need to know about Briggs and Stratton spark plug replacement.
From understanding the signs of a worn-out spark plug to step-by-step instructions on how to replace it, we’ve got you covered. So, let’s dive in and learn how to keep your Briggs and Stratton engine running like new!
Understanding the Importance of Spark Plug Replacement
A spark plug plays a vital role in the combustion process of your Briggs and Stratton engine. Over time, the spark plug can deteriorate, leading to several issues that can impact the engine’s performance.
By understanding the signs of a worn-out spark plug and the importance of timely replacement, you can ensure optimal engine efficiency and prevent potential damage.
The Signs of a Worn-Out Spark Plug
Recognizing the signs of a worn-out spark plug is crucial for maintaining your engine’s performance. Some common symptoms include difficulty starting the engine, rough idling, decreased fuel efficiency, engine misfires or hesitation, and a noticeable drop in power. If you notice any of these signs, it’s likely time to replace your spark plug.
The Impact of a Worn-Out Spark Plug on Engine Performance
A worn-out spark plug can significantly affect your engine’s performance. As the spark plug deteriorates, it may not produce a strong enough spark to ignite the fuel-air mixture consistently.
See Also: Spark Plug Tube Seal Replacement
This leads to incomplete combustion, resulting in decreased power, reduced fuel efficiency, and increased emissions.
Additionally, a faulty spark plug can cause engine misfires, leading to rough idling and potential damage to engine components.
Identifying the Right Spark Plug for Your Briggs and Stratton Engine
Choosing the correct spark plug for your Briggs and Stratton engine is crucial for ensuring compatibility and optimal performance.
Each engine model has specific spark plug requirements, including heat range and electrode gap. By identifying the right spark plug, you can guarantee proper ignition and prevent potential engine issues.
Locating the Model and Serial Number
Before purchasing a new spark plug, you need to locate the model and serial number of your Briggs and Stratton engine.
This information can usually be found on a label or metal plate attached to the engine housing. Once you have these numbers, you can proceed to find the appropriate spark plug for your specific engine model.
Understanding Heat Range and Electrode Gap
Heat range and electrode gap are two essential specifications to consider when selecting a spark plug. The heat range determines how quickly the spark plug dissipates heat, while the electrode gap refers to the distance between the center and ground electrode.
These factors impact the spark plug’s ability to ignite the fuel-air mixture efficiently. Consult your engine’s manual or the manufacturer’s website to determine the recommended heat range and electrode gap for your Briggs and Stratton engine.
Gathering the Necessary Tools and Materials
Before diving into the spark plug replacement process, it’s crucial to gather all the necessary tools and materials. Having everything on hand will ensure a smooth and efficient replacement. Here are the essential items you’ll need:
Socket Wrench or Spark Plug Socket
A socket wrench or spark plug socket is necessary for removing and installing the spark plug. Ensure that the socket size matches the spark plug’s hex size to prevent damage during the replacement process.
Spark Plug Gap Tool
A spark plug gap tool allows you to measure and adjust the electrode gap of the new spark plug. This tool ensures accurate gapping, which is critical for proper ignition and engine performance.
Wire Brush
A wire brush helps clean any debris or carbon buildup around the spark plug area. This ensures a clean and secure connection when installing the new spark plug.
Thread Sealer (Optional)
Depending on your engine model, you may need a thread sealer. Some engines require a sealer to prevent oil or fuel leaks around the spark plug threads. Check your engine’s manual or consult a Briggs and Stratton dealer to determine if you need a thread sealer.
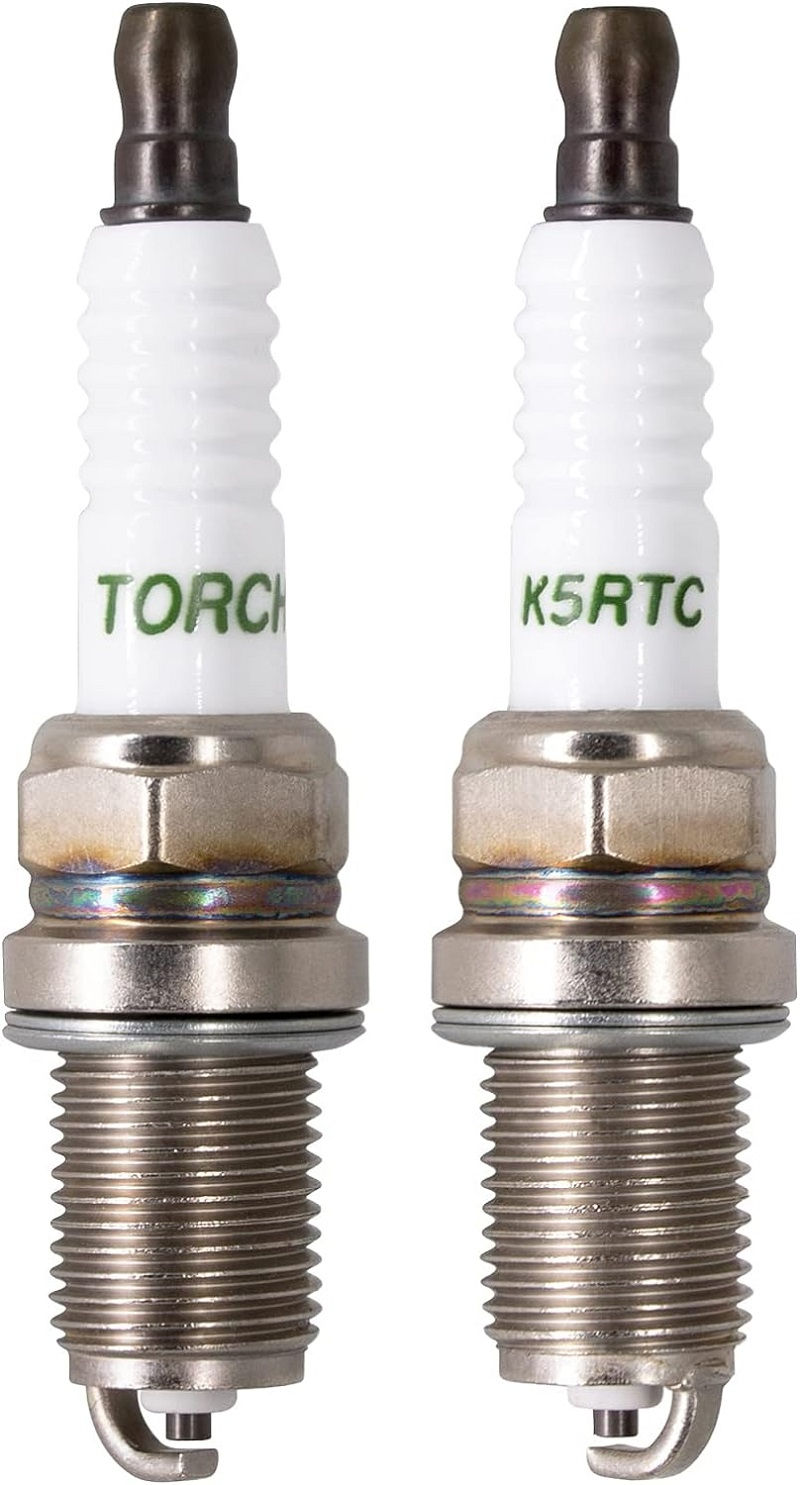
A New Briggs and Stratton Spark Plug
Finally, you’ll need a new spark plug that matches the specifications recommended for your specific Briggs and Stratton engine model.
Make sure to purchase a high-quality spark plug from a reputable manufacturer to ensure optimal performance and longevity.
Preparing Your Briggs and Stratton Engine for Spark Plug Replacement
Proper preparation is key to a successful spark plug replacement. Taking the time to prepare your Briggs and Stratton engine ensures a smooth and hassle-free replacement process. Follow these steps to prepare your engine:
1. Safety First
Prioritize your safety by wearing protective gloves and safety glasses. This will protect your hands and eyes from any debris or chemicals that may come in contact during the replacement process.
2. Allow the Engine to Cool
Before starting any work on the engine, allow it to cool completely. Working on a hot engine can cause burns or other injuries.
See Also: Spark Plug Service: DIY or Professional?
It’s best to let the engine cool for at least 15-30 minutes before proceeding with the spark plug replacement.
3. Disconnect the Spark Plug Wire
Locate the spark plug wire, which is usually black and thick, leading to the spark plug. Firmly grip the boot, which is the rubber portion of the wire, and gently twist and pull it to disconnect it from the spark plug. This will prevent any accidental ignition during the replacement process.
4. Clean the Area Surrounding the Spark Plug
Use a wire brush to clean any dirt, debris, or carbon buildup around the spark plug area. This will ensure a clean surface for the new spark plug to make a secure connection.
Removing the Old Spark Plug
With the engine prepared, it’s time to remove the old spark plug. Follow these step-by-step instructions for a smooth removal process:
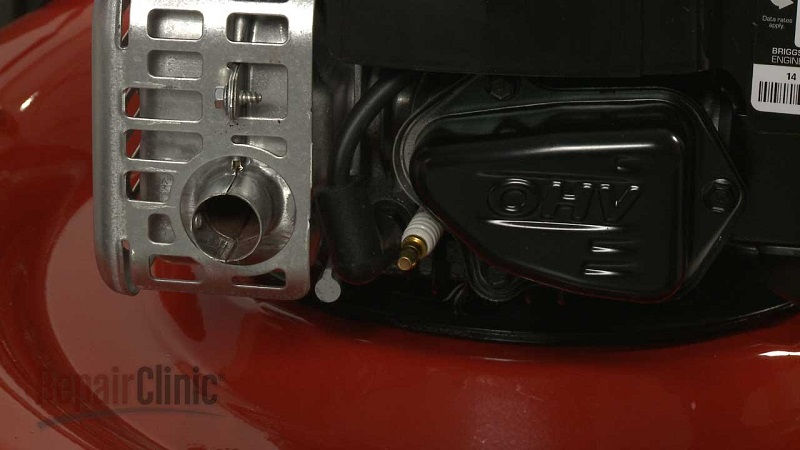
1. Locate the Spark Plug
The spark plug is typically located on the side of the engine, protruding from the engine block. It will have a rubber boot or wire connected to it.
2. Loosen the Spark Plug
Using a socket wrench or spark plug socket, fit it onto the spark plug’s hex nut. Turn it counterclockwise to loosen the spark plug. Be careful not to apply excessive force to prevent damage to the spark plug or engine.
3. Remove the Spark Plug
Once the spark plug is loosened, continue turning it counterclockwise until you can remove it by hand. Slowly pull the spark plug out of the engine, being cautious not to twist or drop it, as this can damage the electrode or insulator.
Inspecting the Old Spark Plug
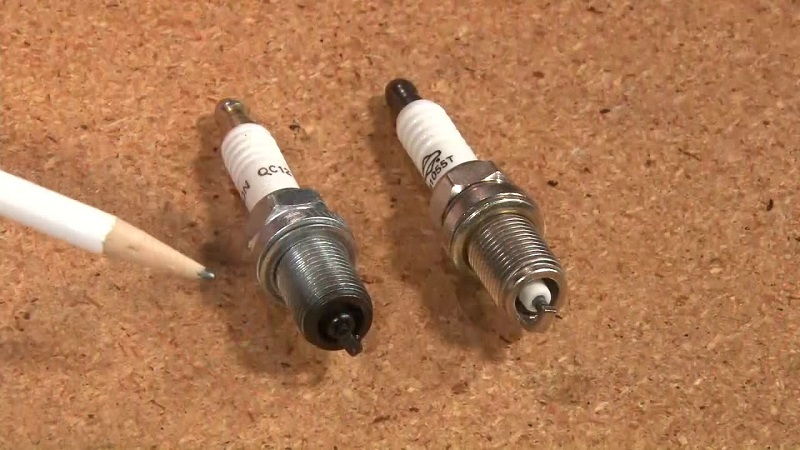
Before installing the new spark plug, it’s essential to inspect the old one for any signs of damage or wear. A thorough inspection can provide valuable insights into the engine’s condition and potential issues that need to be addressed. Follow these steps to inspect the old spark plug:
1. Examine the Electrode
Inspect the electrode, which is the small metal tip at the end of the spark plug. Look for signs of wear, such as rounded edges or excessive erosion. A worn electrode indicates that the spark plug has been used for an extended period and should be replaced.
2. Check the Insulator
Inspect the insulator, which is the ceramic portion of the spark plug. Look for cracks, chips, or discoloration. Any damage to the insulator can lead to poor insulation and potential misfires. If you notice any significant damage, it’s time to replace the spark plug.
3. Assess the Deposits
Examine any deposits on the spark plug, such as carbon buildup or oil residue. Excessive carbon deposits may indicate an issue with the combustion process, while oil residue can be a sign of engine oil leaks. Take note of any abnormal deposits for further investigation and potential engine maintenance.
Properly Gapping the New Spark Plug
To ensure optimal performance, it’s crucial to correctly gap the new spark plug. The electrode gap determines the distance between the center and ground electrode and directly affects the spark plug’s ability to ignite the fuel-air mixture. Follow these steps to properly gap the new spark plug:
1. Check the Recommended Gap
Refer to your Briggs and Stratton engine’s manual or the manufacturer’s website to determine the recommended electrode gap for your specific engine model. This information ensures that you set the gap within the appropriate range for optimal performance.
2. Use a Spark Plug Gap Tool
Insert the ground electrode of the spark plug into the corresponding slot on the spark plug gap tool. Gentlysqueeze the tool to bend the ground electrode, adjusting the gap to the recommended measurement.
See Also: RC12YC Cross Reference: Testing and Reviews
Be careful not to apply excessive force, as it can damage the electrode or insulator. Check the gap using the tool’s measurement markings until it matches the recommended specification.
3. Verify the Gap
After adjusting the gap, double-check the measurement to ensure it is within the recommended range. It’s essential to have an accurate gap for proper spark plug performance and ignition.
Installing the New Spark Plug
With the old spark plug removed and the new one properly gapped, it’s time to install the replacement spark plug. Follow these step-by-step instructions for a successful installation:
1. Apply Anti-Seize Compound (Optional)
If recommended by your engine’s manual or a Briggs and Stratton dealer, you can apply a small amount of anti-seize compound to the spark plug threads.
This compound prevents the spark plug from seizing in the engine block due to heat and corrosion. Be cautious not to apply too much, as it can interfere with electrical conductivity.
2. Hand-Tighten the Spark Plug
Start by hand-threading the new spark plug into the spark plug hole. Turn it clockwise until you can no longer tighten it by hand. It’s crucial not to overtighten the spark plug, as it can damage the threads or the engine block.
3. Use a Torque Wrench for Final Tightening
For the final tightening, use a torque wrench to achieve the specified torque value recommended by your engine’s manual. This ensures that the spark plug is securely and evenly tightened without causing damage.
If you don’t have access to a torque wrench, tighten the spark plug with a socket wrench or spark plug socket until it is snug.
Testing the Newly Installed Spark Plug
After the spark plug installation, it’s crucial to test its functionality to ensure everything is in proper working order. Follow these steps to perform a simple test:
1. Reconnect the Spark Plug Wire
Gently push the spark plug wire boot onto the new spark plug until it clicks into place. Ensure it is securely connected to prevent any accidental disconnection during engine operation.
2. Start the Engine
Start the Briggs and Stratton engine and allow it to idle for a few minutes. Observe the engine’s behavior and listen for any abnormal sounds or misfires. The engine should run smoothly without any hesitation or rough idling.
3. Monitor Engine Performance
Pay attention to the engine’s performance during various operating conditions, such as idle, acceleration, and high-speed operation. If you notice any issues, such as misfires, hesitation, or a drop in power, it may indicate a problem with the spark plug installation. In such cases, double-check the spark plug gap and ensure it is within the recommended range.
Maintaining Regular Spark Plug Replacement Intervals
Spark plug replacement is not a one-time task but a regular maintenance requirement. To keep your Briggs and Stratton engine running at its best, it’s essential to replace the spark plug at the recommended intervals. Follow these tips to maintain a regular spark plug replacement schedule:
1. Consult Your Engine’s Manual
Refer to your engine’s manual for the recommended spark plug replacement interval. The interval may vary depending on the engine model and usage conditions. Following the manufacturer’s guidelines ensures optimal engine performance and longevity.
2. Consider Operating Conditions
Operating conditions, such as frequent use in dusty or dirty environments, can accelerate spark plug wear. If you regularly operate your engine in harsh conditions, you may need to replace the spark plug more frequently than the standard interval. Keep these factors in mind when scheduling maintenance.
3. Keep a Maintenance Record
Maintaining a record of spark plug replacements and other engine maintenance tasks can help you stay organized and ensure timely replacements.
See Also: Spark Plug O Ring Replacement Cost
Keep track of the date of replacement, the part number of the spark plug, and any relevant observations or issues. This record will serve as a valuable reference for future maintenance and troubleshooting.
4. Inspect the Spark Plug Regularly
Even if it’s not yet time for a replacement, regularly inspect the spark plug for any signs of wear or damage.
This visual inspection can help detect potential issues early on and prevent more significant problems down the line.
If you notice any abnormalities, such as excessive wear, fouling, or damage, consider replacing the spark plug sooner rather than later.
By following this comprehensive guide, you’ll have all the knowledge and information necessary to replace the spark plug in your Briggs and Stratton engine.
Remember, regular maintenance is key to ensuring optimal engine performance and longevity. So, don’t neglect this essential task and keep your Briggs and Stratton engine running smoothly for years to come!
Related video of Briggs and Stratton Spark Plug Replacement: A Comprehensive Guide

- Project Trucks for Sale Cheap - July 1, 2025
- Salvage Title Trucks for Sale - July 1, 2025
- Restored Classic Trucks for Sale - July 1, 2025