
This post contains affiliate links. This means I will make a commission at no extra cost to you should you click through and make a purchase [ “As an Amazon Associate, I earn from qualifying purchases.” ]. Read the full disclosure here.
A Comprehensive Guide: How to Test a Car Battery with a Multimeter GuideMechanic.Com Car batteries are vital components of any vehicle, providing the necessary power to start the engine and run various electrical systems. However, over time, batteries can degrade or fail, leading to issues such as difficulty starting the car or frequent stalling.
To diagnose potential battery problems, one effective method is to use a multimeter to test its voltage and overall health. In this comprehensive guide, we’ll explore step-by-step instructions on how to test a car battery using a multimeter.
How to Test a Car Battery with a Multimeter
Understanding the Basics of Multimeters
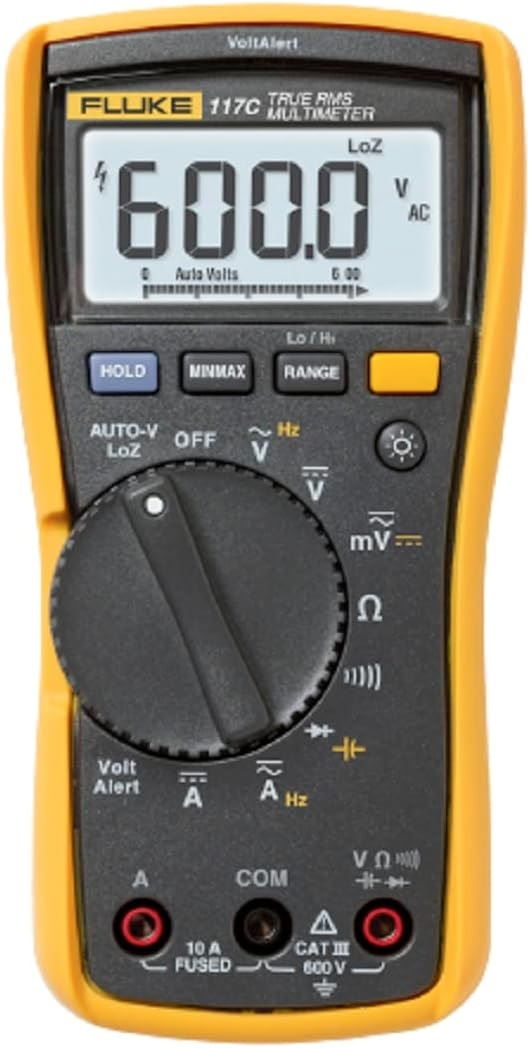
Before delving into the process of testing a car battery, it’s essential to understand the basics of multimeters. A multimeter is a versatile electronic instrument used to measure voltage, current, and resistance in electrical circuits.
See Also: 2010 Chevy Malibu Battery
It typically consists of a display screen, a dial or buttons to select different measurement functions, and two probes for making electrical connections.
How to Test a Car Battery with a Multimeter
Preparing for the Test
Before testing the car battery, ensure that the vehicle is parked in a safe and well-ventilated area away from any flammable materials.
Additionally, turn off the engine, headlights, and any other electrical accessories to prevent interference with the test results. Put on safety gloves and goggles to protect yourself from potential electrical hazards.
Testing Battery Voltage
- 1. Set the multimeter to the DC voltage setting. Most multimeters have a dedicated setting for measuring DC voltage, usually denoted by a “V” with a straight line above it.
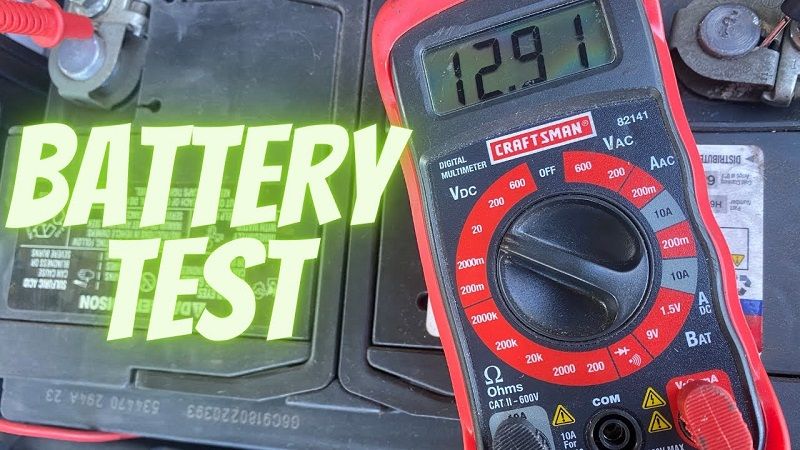
- 2. Connect the multimeter probes to the battery terminals. The red probe should be connected to the positive terminal (+), marked with a plus (+) sign or the letters “POS,” while the black probe should be connected to the negative terminal (-), marked with a minus (-) sign or the letters “NEG.”
- 3. Read the voltage displayed on the multimeter. A fully charged car battery typically measures around 12.6 to 12.8 volts when the engine is off. If the voltage reading is significantly lower than this range, it indicates that the battery may be discharged or faulty.
Testing Battery Load
- 1. Set the multimeter to the DC voltage setting as before.
- 2. Connect the multimeter probes to the battery terminals.
- 3. Have a helper start the engine while you monitor the multimeter display.
- 4. Read the voltage displayed on the multimeter while the engine is running. A healthy battery should maintain a voltage of around 13.5 to 14.5 volts when the engine is running. If the voltage is significantly lower, it may indicate a problem with the alternator or charging system.
Testing Battery Resistance
- 1. Set the multimeter to the resistance (ohms) setting. This setting is typically denoted by the Greek letter omega (Ω) or the word “ohms” on the dial.
- 2. Disconnect the battery from the vehicle’s electrical system by removing the terminal connections.
- 3. Connect the multimeter probes to the battery terminals. The red probe should be connected to the positive terminal, and the black probe should be connected to the negative terminal.
- 4. Read the resistance displayed on the multimeter. A healthy car battery should have a low resistance, typically less than 0.5 ohms. Higher resistance values may indicate internal battery damage or deterioration.
How to Test a Car Battery with a Multimeter
Interpreting the Results
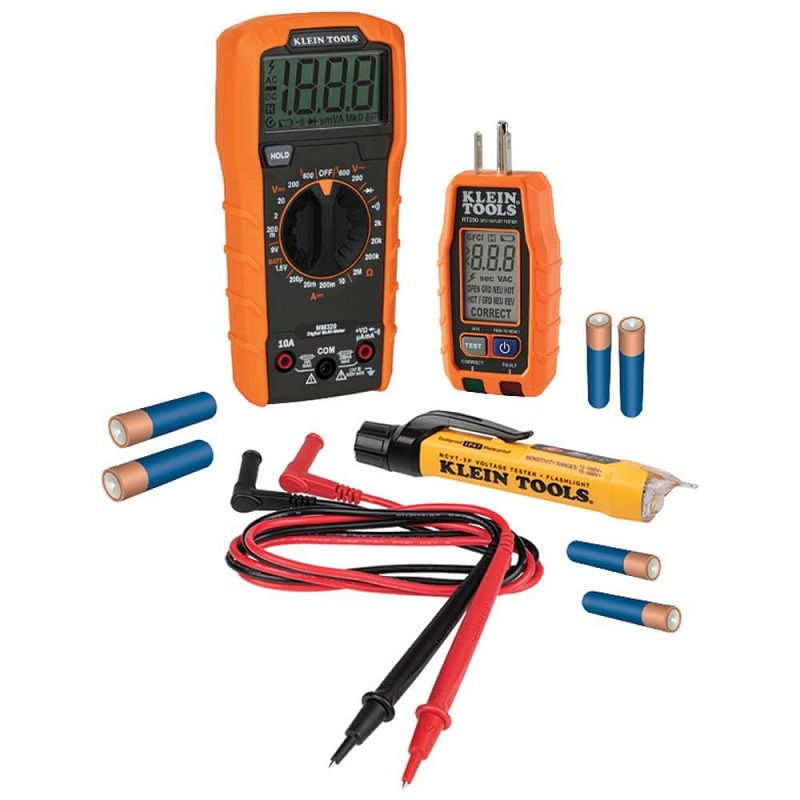
Check out this Klein Tools 69355 Digital Multimeter Premium Electrical Test Kit with Non-Contact Voltage Tester, Receptacle Tester, Test Leads
After performing the tests, it’s essential to interpret the results accurately to determine the condition of the car battery:
See Also: Pontiac G6 Battery
1. If the voltage readings are within the normal range both with the engine off and running, the battery is likely in good condition.
2. If the voltage readings are significantly lower than the normal range, it indicates that the battery may be discharged or faulty and needs further inspection or replacement.
3. If the resistance reading is unusually high, it suggests internal battery damage or deterioration, necessitating replacement.
Conclusion
Testing a car battery with a multimeter is a straightforward process that can help diagnose potential battery issues and prevent unexpected breakdowns.
By following the step-by-step instructions outlined in this guide, you can accurately assess the voltage, load, and resistance of your car battery, enabling timely maintenance or replacement as needed.
Remember to exercise caution and follow safety procedures when working with electrical systems to avoid accidents or injuries.
See Also: 2014 Chevy Equinox Battery

- Trucks with Navigation for Sale - June 30, 2025
- Trucks with Camper Shell for Sale - June 30, 2025
- Trucks for Hauling Heavy Loads - June 30, 2025