
This post contains affiliate links. This means I will make a commission at no extra cost to you should you click through and make a purchase [ “As an Amazon Associate, I earn from qualifying purchases.” ]. Read the full disclosure here.
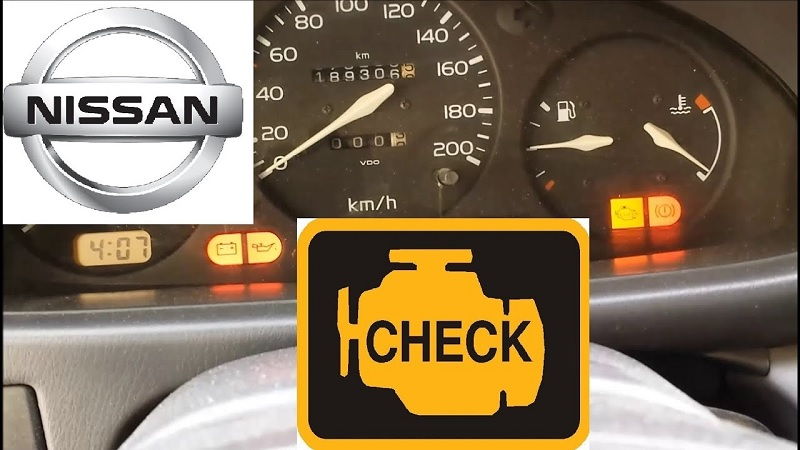
Nissan Check Engine Light GuideMechanic.Com When it comes to your Nissan vehicle, one of the most frustrating things that can happen is seeing the check engine light illuminate on your dashboard.
This little warning light can cause anxiety and confusion, leaving you wondering what could possibly be wrong with your car.
In this comprehensive guide, we will delve into everything you need to know about the Nissan check engine light, including its causes, how to diagnose the issue, and what steps to take for a solution.
Common Causes of the Check Engine Light
There are numerous potential triggers for the check engine light in your Nissan. While some causes may be minor and easily fixable, others may require professional expertise.
See Also: 2006 Nissan Pathfinder Catalytic Converter
Understanding the common culprits can help you narrow down the possibilities and determine the appropriate course of action.
Loose or Faulty Gas Cap
Believe it or not, a loose or faulty gas cap is one of the most frequent causes of the check engine light coming on. The gas cap is designed to seal the fuel system and prevent evaporation of gasoline fumes. If it is not properly tightened or has a faulty seal, it can trigger the check engine light.
Solution: Check the gas cap and ensure it is tightened securely. If the gas cap is damaged, replace it with a new one.
Afterward, drive your Nissan for a few days to see if the check engine light turns off. If the light persists, further investigation is required.
Faulty Oxygen Sensor
The oxygen sensor (O2 sensor) monitors the level of oxygen in the exhaust gases. It provides feedback to the engine control unit, helping it adjust the air-fuel mixture for optimal combustion.
When the oxygen sensor malfunctions or fails, it can lead to poor fuel economy, increased emissions, and trigger the check engine light.
Solution: A faulty oxygen sensor requires replacement. Consult your Nissan’s service manual or seek professional help to determine the exact location of the sensor and how to replace it. Clear the check engine light after the replacement, and monitor if it reappears.
Malfunctioning Catalytic Converter
The catalytic converter plays a crucial role in reducing harmful emissions. It converts harmful gases produced during combustion into less harmful substances.
A malfunctioning catalytic converter can lead to decreased engine performance, increased emissions, and the illumination of the check engine light.
Solution: If you suspect an issue with the catalytic converter, it is recommended to have a professional mechanic inspect and diagnose the problem. Replacement of the catalytic converter may be necessary if it is determined to be faulty.
Problem with the Mass Airflow Sensor
The mass airflow (MAF) sensor measures the amount of air entering the engine. This information is essential for calculating the correct air-fuel mixture. When the MAF sensor fails or becomes dirty, it can cause a variety of engine-related issues and trigger the check engine light.
Solution: Cleaning the MAF sensor with a specialized cleaner may resolve the issue. However, if the sensor is damaged or heavily contaminated, replacement might be necessary. Consult your Nissan’s service manual or seek professional assistance for guidance.
Issues with the Exhaust Gas Recirculation (EGR) Valve
The exhaust gas recirculation (EGR) valve is responsible for recirculating a portion of the exhaust gases back into the engine’s combustion chambers.
This process helps reduce emissions and control combustion temperatures. A malfunctioning EGR valve can lead to engine performance problems and trigger the check engine light.
Solution: Clean the EGR valve to remove carbon buildup, as it is often the cause of malfunction. If cleaning doesn’t resolve the issue, the EGR valve may need replacement. Seek professional help or consult your Nissan’s service manual for guidance.
Spark Plug or Ignition Coil Issues
Spark plugs and ignition coils are crucial components for engine ignition. When these components fail or become worn out, it can lead to misfiring, reduced engine performance, and the activation of the check engine light.
See Also: 2015 Nissan Sentra Mass Air Flow Sensor
Solution: Inspect the spark plugs for signs of wear or damage and replace them if necessary. Additionally, check the ignition coils for any visible issues. If the problem persists after replacement, further diagnostics may be required.
Problem with the Engine Control Module (ECM)
The engine control module (ECM) is the brain of your Nissan’s engine management system. It controls various functions and monitors the sensors and actuators. A malfunctioning ECM can cause a range of issues, including the activation of the check engine light.
Solution: Diagnosing and repairing ECM-related problems require specialized knowledge and equipment. It is recommended to consult a professional mechanic or Nissan dealership to address ECM issues.
Other Potential Causes
There are numerous other potential causes for the check engine light to come on in your Nissan. These can include issues with the fuel injectors, ignition system, transmission, emissions system, or even a faulty sensor. Diagnosing these problems often requires professional expertise and specialized diagnostic equipment.
Solution: If you are unable to determine the exact cause or resolve the issue, it is best to consult a professional mechanic who can perform a thorough diagnosis and provide the appropriate solution.
Diagnosing the Check Engine Light
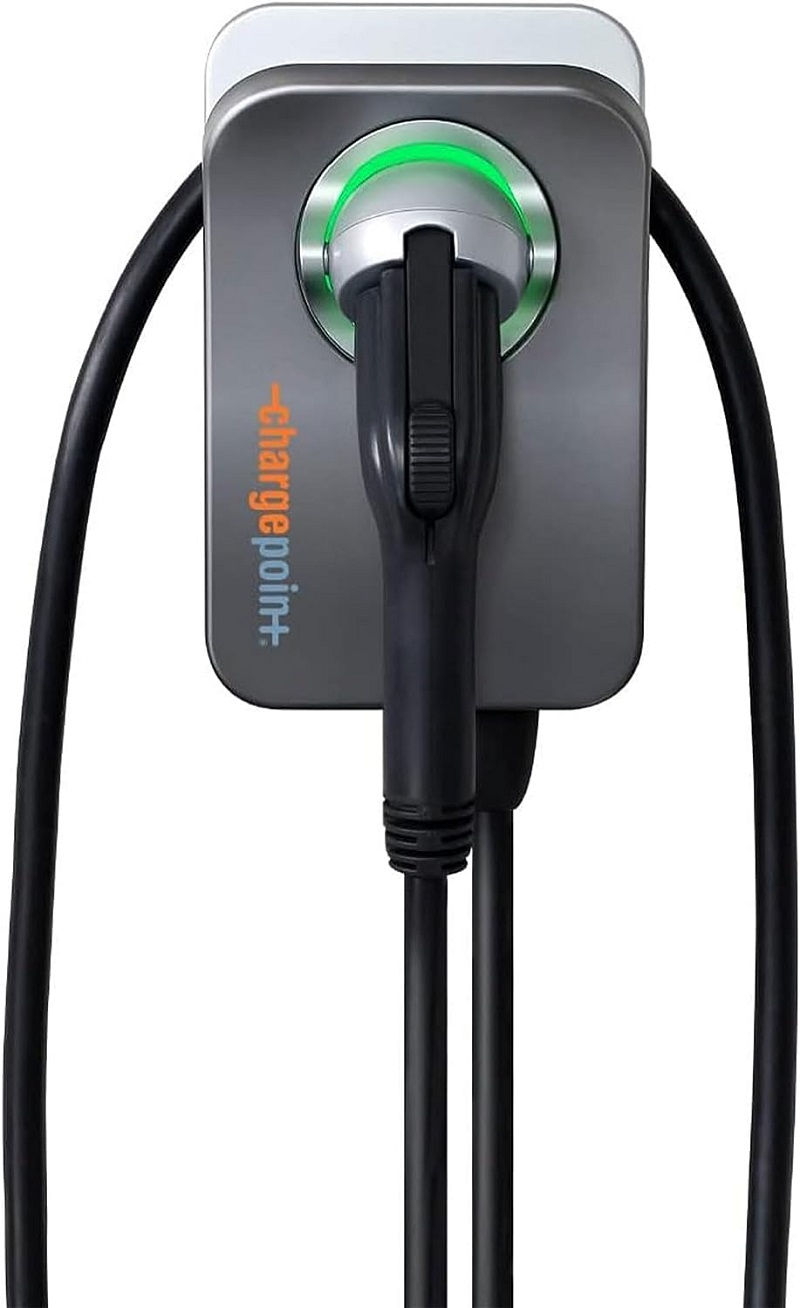
Check out this ChargePoint Level 2 240V Smart Home Flex Hardwire Outdoor Charging Station and Cable for 20-80A Circuit Breaker for Electric Cars, Gray
Diagnosing the cause of the check engine light in your Nissan requires a systematic approach. While it is possible to perform some basic troubleshooting yourself, it is essential to understand the limitations and when to seek professional help.
Basic Troubleshooting Steps
Before diving into complex diagnostics, there are a few basic troubleshooting steps you can take to potentially resolve the issue causing the check engine light to come on.
- 1. Check the Gas Cap:
As mentioned earlier, a loose or faulty gas cap can trigger the check engine light. Ensure it is tightened securely or replace it with a new one if necessary. Drive your Nissan for a few days to see if the light turns off.
-
2. Restart the Engine:
Sometimes, a temporary glitch in the system can trigger the check engine light. Try turning off the engine, waiting a few minutes, and then restarting it. If the light remains on, move on to further troubleshooting steps.
-
3. Check for Obvious Issues:
Inspect visible components, such as hoses, wires, and connectors, for any signs of damage or disconnection. Secure any loose connections and repair or replace damaged components if necessary.
-
4. Scan for Diagnostic Trouble Codes (DTCs):
To get a better understanding of the specific issue causing the check engine light, you can use an onboard diagnostic (OBD-II) scanner. These scanners can read and interpret the diagnostic trouble codes (DTCs) stored in the vehicle’s computer.
Solution: If the basic troubleshooting steps do not resolve the issue, it is recommended to move on to more advanced diagnostics or consult a professional mechanic who has access to specialized diagnostic equipment.
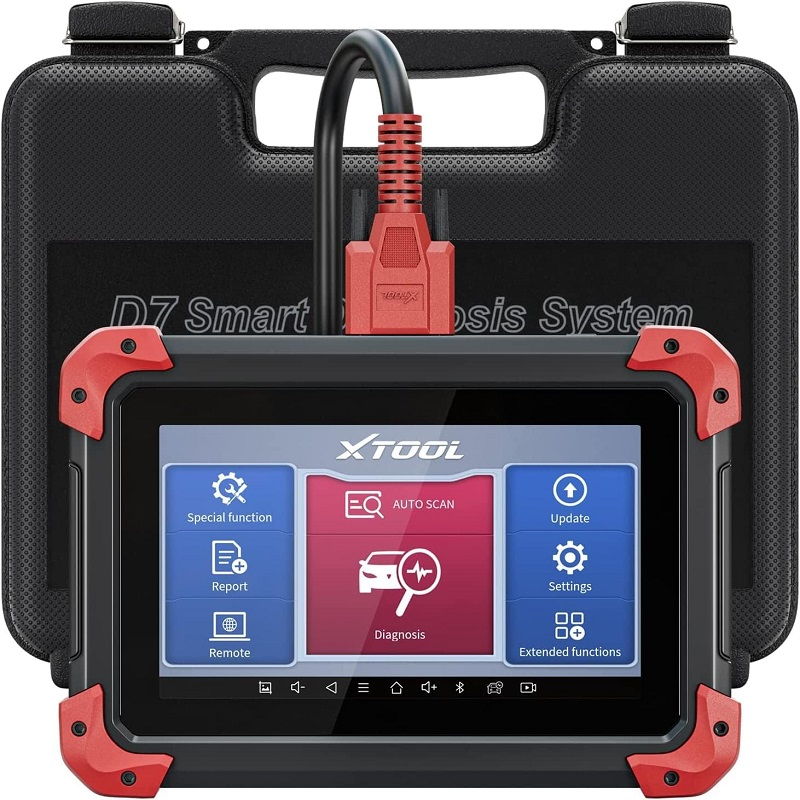
Using an OBD-II Scanner
An OBD-II scanner is a valuable tool for diagnosing the cause of the check engine light. It connects to the vehicle’s OBD-II port, typically located under the dashboard, and communicates with the ECU to retrieve DTCs and other relevant information.
-
1. Locate the OBD-II Port:
Find the OBD-II port in your Nissan. It is usually located beneath the steering wheel, within arm’s reach. Refer to the vehicle’s manual if you’re having trouble locating it.
-
2. Connect the OBD-II Scanner:
Plug the OBD-II scanner into the port until it is securely connected. Turn the ignition key to the “ON” position without starting the engine.
-
3. RetrieveDTCs:
Once the OBD-II scanner is connected, follow the instructions provided by the scanner to retrieve the diagnostic trouble codes (DTCs) stored in your Nissan’s ECU.
See Also: Nissan Mass Air Flow Sensor Recall
These codes are alphanumeric and provide specific information about the issue that triggered the check engine light.
-
4. Interpret the DTCs:
Each DTC corresponds to a specific problem or component in your vehicle. Use the scanner’s manual or consult online resources to interpret the codes and understand what they indicate.
-
5. Research the DTCs:
Once you have identified the DTCs, research them to gain a better understanding of the possible causes and potential solutions. Online forums, vehicle-specific forums, and repair manuals can provide valuable insights and guidance.
-
6. Address the Root Cause:
Based on the DTCs and research, you can start narrowing down the potential causes of the check engine light.
Follow the recommended steps to address the root cause of the issue. This may involve replacing faulty components, repairing damaged wiring, or performing specific diagnostic tests.
-
7. Clear the Check Engine Light:
After addressing the root cause of the issue, you will need to clear the check engine light from your Nissan’s ECU.
Most OBD-II scanners have the capability to clear the DTCs and reset the check engine light. Follow the instructions provided by the scanner to complete this step.
-
8. Monitor for Recurring Issues:
Once the check engine light is reset, drive your Nissan for a few days and monitor if the light reappears. If it does, it indicates that the problem was not fully resolved, and further investigation or repairs are necessary.
-
9. Seek Professional Help, if Needed:
If you are unable to diagnose the issue using an OBD-II scanner or if the problem persists after your troubleshooting efforts, it is recommended to seek professional help.
Professional mechanics have access to advanced diagnostic tools and expertise to pinpoint and resolve complex issues with your Nissan’s check engine light.
DIY Fixes for the Check Engine Light
While some check engine light issues require professional intervention, there are a few DIY fixes you can attempt before heading to the mechanic. These fixes are relatively simple and may save you time and money.
Tightening or Replacing the Gas Cap
As mentioned earlier, a loose or faulty gas cap is a common and easily fixable cause of the check engine light. Start by checking the gas cap and ensuring it is tightly secured. If the gas cap is damaged or has a faulty seal, replace it with a new one.
Cleaning the MAF Sensor
If the check engine light is triggered by a faulty mass airflow (MAF) sensor, you may be able to resolve the issue by cleaning it. The MAF sensor is located between the air filter and the throttle body.
Disconnect the sensor and use a specialized MAF cleaner to remove any dirt or debris that might be affecting its performance. Reinstall the sensor and clear the check engine light to see if the issue is resolved.
Replacing a Faulty Oxygen Sensor
If a faulty oxygen sensor is causing the check engine light, you can attempt to replace it yourself. Start by identifying the location of the sensor in your Nissan.
Consult your vehicle’s service manual or online resources for guidance. Once located, disconnect the electrical connector and remove the sensor using the appropriate tools.
Install the new oxygen sensor and reconnect the electrical connector. Clear the check engine light and monitor if it reappears.
Checking and Replacing Spark Plugs
Worn-out or faulty spark plugs can trigger the check engine light. Start by locating the spark plugs in your Nissan’s engine.
See Also: Nissan Altima Catalytic Converter
Remove the spark plug wires or ignition coils, depending on your vehicle’s configuration. Use a spark plug socket and ratchet to remove the old spark plugs.
Inspect the plugs for signs of wear or damage, such as erosion or fouling. If necessary, replace the spark plugs with new ones that match your vehicle’s specifications. Reinstall the spark plug wires or ignition coils and clear the check engine light.
Repairing Damaged Wiring or Connections
If you suspect that the check engine light is caused by damaged wiring or loose connections, you can attempt to repair them yourself.
Start by visually inspecting the wiring harnesses and connectors in the affected area. Look for any signs of damage, such as exposed wires, frayed insulation, or loose connectors.
Use electrical tape, heat shrink tubing, or wire connectors to repair any damaged wiring. Ensure all connections are secure and tight. Clear the check engine light and monitor if it returns.
It is important to note that while these DIY fixes may work for certain check engine light issues, they may not be applicable or effective for all cases.
If the problem persists or if you are uncertain about performing the repairs yourself, it is recommended to consult a professional mechanic.
Frequently Asked Questions about the Check Engine Light
1. What is the purpose of the check engine light?
The check engine light serves as an indicator that there is a potential issue with your vehicle’s engine or emission system. It prompts you to take action and have the problem diagnosed and resolved to prevent further damage or performance issues.
2. Can I continue driving with the check engine light on?
While it may be tempting to ignore the check engine light and continue driving, it is not recommended. Ignoring the light can lead to more severe issues and potential engine damage. It is best to address the problem promptly to prevent further complications.
3. Can I use a generic OBD-II scanner to diagnose the check engine light?
Yes, generic OBD-II scanners can read and clear the diagnostic trouble codes (DTCs) from your Nissan’s ECU.
However, manufacturer-specific scanners or professional diagnostic tools may provide more detailed information and specific troubleshooting guidance for your particular Nissan model.
4. How much does it cost to diagnose and repair a check engine light issue?
The cost of diagnosing and repairing a check engine light issue can vary depending on the specific problem and your location.
Simple issues, such as a loose gas cap or a sensor replacement, may be relatively inexpensive. However, more complex issues, such as a malfunctioning catalytic converter or ECM problems, can be more costly to diagnose and repair. It is best to consult a professional mechanic for an accurate estimate based on your Nissan’s specific issue.
5. Can I pass an emissions test with the check engine light on?
No, a lit check engine light typically results in an automatic failure during emissions testing. It is crucial to address any check engine light issues and clear the light before taking your Nissan for emissions testing to ensure a successful outcome.
See Also: 2010 Nissan Murano Problems
Related video of The Ultimate Guide to Understanding Nissan Check Engine Light

- Used Trucks for Sale in Texas Under 15000 Low Mileage - June 29, 2026
- Used Trucks for Sale in Texas Under 15000 Good Condition - June 28, 2026
- Used Trucks for Sale in Texas Under 15000 With Financing - June 27, 2026