
This post contains affiliate links. This means I will make a commission at no extra cost to you should you click through and make a purchase [ “As an Amazon Associate, I earn from qualifying purchases.” ]. Read the full disclosure here.
Alternator 2011 Honda Accord GuideMechanic.Com Are you experiencing issues with the alternator in your 2011 Honda Accord? Wondering what an alternator does and how it affects your car’s performance? Look no further! In this comprehensive blog article, we will delve into the world of the alternator in the 2011 Honda Accord, providing you with all the information you need to understand this vital component of your vehicle.
First and foremost, let’s start with the basics. The alternator is an essential part of your car’s electrical system, responsible for generating electricity and charging the battery while the engine is running.
See Also: Alternator 2010 Honda Odyssey
It plays a crucial role in keeping all the electrical components of your Honda Accord functioning properly, including the lights, radio, and other accessories.
What is an Alternator?
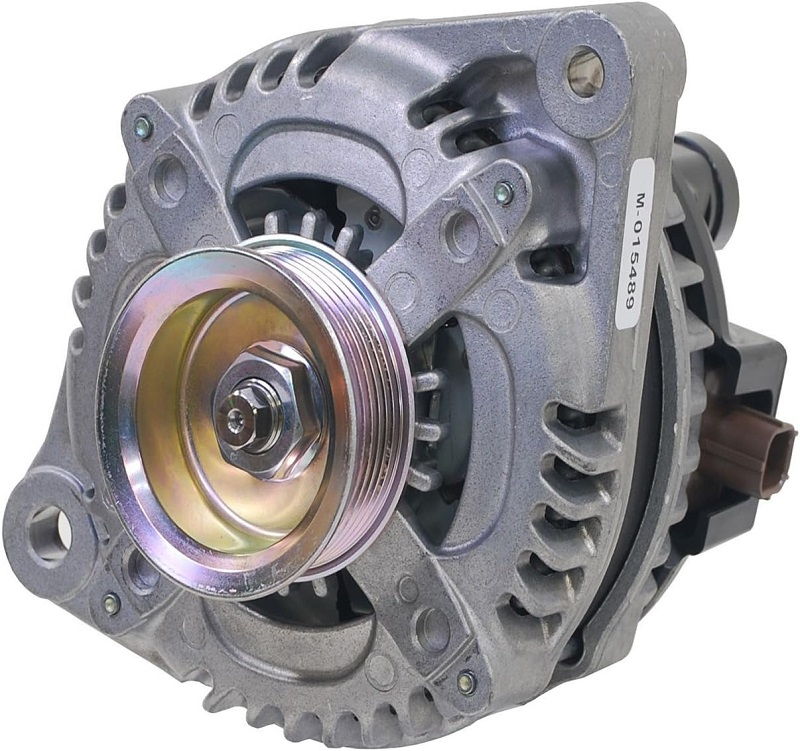
Check out this Denso 210-0644 Alternator
An alternator is a mechanical device that converts mechanical energy into electrical energy. It is driven by a belt connected to the engine crankshaft and consists of several components, including a rotor, stator, diode bridge, and voltage regulator.
When the engine is running, the alternator spins and produces alternating current (AC) electricity. The diode bridge then converts this AC electricity into direct current (DC) electricity, which is used to charge the battery and power the electrical systems of the vehicle.
Components of an Alternator
The alternator consists of the following components:
- Rotor: The rotor is a rotating component inside the alternator that generates a magnetic field when current passes through it.
- Stator: The stator is a stationary component that surrounds the rotor and contains wire windings. As the rotor spins, the changing magnetic field induces an electrical current in the stator windings.
- Diode Bridge: The diode bridge is a set of diodes that convert the AC electricity produced by the alternator into DC electricity.
- Voltage Regulator: The voltage regulator is responsible for regulating the electrical output of the alternator and maintaining a constant voltage to power the vehicle’s electrical systems and charge the battery.
How Does an Alternator Work?
When the engine is running, the alternator is driven by a belt connected to the engine’s crankshaft. As the alternator spins, the rotor generates a magnetic field, while the stator windings induce an electrical current.
This AC electricity is then converted into DC electricity by the diode bridge. The voltage regulator ensures that the electrical output is maintained at a constant voltage, typically around 14 volts, regardless of the engine speed.
See Also: 2005 Honda Pilot Catalytic Converter
The DC electricity produced by the alternator is used to power the electrical systems of the vehicle and charge the battery.
How to Test an Alternator
Check out this EPAuto CP134 (CF10134) Premium Cabin Air Filter includes Activated Carbon

If you suspect that your alternator is not functioning properly, there are several tests you can perform to diagnose the issue. Here are a few methods you can use to test your 2011 Honda Accord’s alternator:
1. Visual Inspection
Start by visually inspecting the alternator for any obvious signs of damage or wear, such as loose connections, frayed wires, or leaking fluids. Ensure that the alternator belt is properly tensioned and in good condition.
2. Multimeter Test
A multimeter is a handy tool that can be used to measure electrical voltage, current, and resistance. To test the alternator with a multimeter, follow these steps:
- Start the engine and let it idle.
- Set the multimeter to the DC voltage setting.
- Connect the multimeter’s positive (red) probe to the positive terminal of the battery.
- Connect the multimeter’s negative (black) probe to the negative terminal of the battery.
- Observe the voltage reading on the multimeter. It should be around 14 volts if the alternator is functioning properly. If the reading is significantly lower or higher, it indicates a problem with the alternator.
3. Load Test
A load test involves putting a load on the alternator to see how it performs under stress. Here’s how you can perform a load test on your alternator:
- Start the engine and let it idle.
- Turn on all electrical accessories, such as the headlights, radio, and air conditioning, to put a load on the alternator.
- Observe the performance of the electrical systems. If the lights dim significantly or the accessories operate erratically, it could indicate a problem with the alternator.
4. Professional Testing
If you’re unsure about performing the tests yourself or want a more accurate diagnosis, it’s best to take your 2011 Honda Accord to a professional mechanic or an auto parts store that offers alternator testing services. They have specialized equipment that can provide a more comprehensive analysis of the alternator’s performance.
DIY Alternator Replacement
If you have some mechanical experience and the necessary tools, you can save money by replacing the alternator in your 2011 Honda Accord yourself. However, keep in mind that alternator replacement can be a complex task, so it’s important to follow the manufacturer’s instructions and take appropriate safety precautions. Here’s a general step-by-step guide to help you replace the alternator:
1. Gather the Necessary Tools and Parts
Before starting the replacement process, make sure you have all the required tools and a new alternator that is compatible with your 2011 Honda Accord. The necessary tools may include a socket set, wrenches, pliers, a pry bar, and a serpentine belt tool.
2. Disconnect the Battery
Start by disconnecting the negative terminal of the battery to prevent any electrical mishaps during the replacement process. Use a wrench or socket to loosen the terminal nut and carefully remove the cable.
3. Remove the Serpentine Belt
Using a serpentine belt tool or a wrench, loosen the tensioner pulley and slide the belt off the alternator pulley. Take note of the belt routing before removing it to ensure proper reinstallation.
4. Disconnect Electrical Connections
Locate the electrical connectors attached to the alternator and disconnect them. These may include a main power wire, a plug connector, and any other wiring connections. Remember to label or take a picture of the connections for reference during reassembly.
5. Remove the Mounting Bolts
There are usually one or two mounting bolts that secure the alternator to the engine. Use a socket or wrench to remove these bolts and carefully detach the alternator from its mounting bracket.
6. Install the New Alternator
Take the new alternator and position it in the mounting bracket. Reinstall the mounting bolts and tighten them securely. Then, reconnect the electrical connectors, ensuring that they are properly seated and secure.
7. Reinstall the Serpentine Belt
To reinstall the serpentine belt, refer to the diagram or label under the hood that shows the correct routing.
See Also: 2005 Honda CRV Catalytic Converter
Use the serpentine belt tool or wrench to loosen the tensioner pulley again, allowing enough slack to slide the belt back onto the alternator pulley. Double-check that the belt is properly aligned on all pulleys before releasing the tensioner.
8. Reconnect the Battery
After securing the serpentine belt, reattach the negative terminal of the battery. Tighten the terminal nut with a wrench or socket to ensure a secure connection.
9. Test the New Alternator
Start the engine and observe the performance of the electrical systems. Check for any warning lights on the dashboard and listen for any unusual noises. If everything appears to be functioning properly, it indicates a successful alternator replacement.
Cost of Alternator Replacement
Check out this Rain-X Latitude with Water Repellency – 26″

The cost of replacing the alternator in your 2011 Honda Accord can vary depending on various factors, including the brand of the alternator, your location, and whether you choose to do it yourself or have it done by a professional. Here’s a breakdown of the potential costs involved:
1. Alternator Cost
The cost of a new alternator can range from $100 to $500, depending on the brand, quality, and any additional features it may have. Genuine OEM alternators tend to be more expensive than aftermarket options.
2. Labor Cost
If you decide to have the alternator replaced by a professional mechanic, labor costs can range from $100 to $300, depending on the hourly rate of the mechanic and the complexity of the replacement process.
3. Additional Parts and Services
In some cases, additional parts may be required during the alternator replacement, such as belts or pulleys. These additional parts can add to the overall cost of the replacement. Additionally, if you choose to have the replacement done at a dealership, there may be additional charges for diagnostic tests or software updates.
4. DIY Cost
If you decide to replace the alternator yourself, you can save on labor costs but will still need to purchase the new alternator and any additional parts required. Keep in mind that DIY replacement requires the necessary tools and mechanical knowledge, so it’s important to assess your skills and comfort level before attempting the replacement.
Common Alternator Issues in the 2011 Honda Accord
While the 2011 Honda Accord is generally a reliable vehicle, there have been some common alternator issues reported by owners. Understanding these issues can help you identify and address potential problems. Here are a few common alternator-related issues specific to the 2011 Honda Accord:
1. Premature Alternator Failure
Some 2011 Honda Accord owners have reported instances of alternator failure at relatively low mileage. Premature failure can be attributed to various factors, such as manufacturing defects, electrical system issues, or excessive electrical load placed on the alternator.
2. Voltage Regulator Failure
The voltage regulator is a critical component of the alternator that regulates the electrical output. In some cases, the voltage regulator in the 2011 Honda Accord may fail, leading to erratic charging or overcharging of the battery. This can result in electrical system malfunctions and potential battery damage.
3. Belt Tensioner Problems
The belt tensioner in the 2011 Honda Accord can sometimes develop issues, leading to improper tension on the serpentine belt.
See Also: 2000 Honda Accord Catalytic Converter
This can cause the belt to slip on the pulleys, resulting in reduced alternator performance and potential charging system problems.
4. Faulty Diode Bridge
The diode bridge is responsible for converting the AC electricity produced by the alternator into DC electricity.
In some cases, the diode bridge in the 2011 Honda Accord may fail, causing issues with the charging system. This can lead to battery drain or insufficient power supply to the vehicle’s electrical systems.
Genuine Alternator vs. Aftermarket Alternator
When it comes to replacing your alternator, you have the choice between genuine OEM (Original Equipment Manufacturer) alternators and aftermarket alternators. Here’s a comparison between the two options to help you make an informed decision:
Genuine Alternator
Genuine alternators, also known as OEM alternators, are produced by the original manufacturer of your vehicle.
These alternators are designed to meet the exact specifications of your 2011 Honda Accord and are generally considered to be of higher quality and reliability. They often come with a warranty that ensures compatibility and performance.
Aftermarket Alternator
Aftermarket alternators are produced by third-party manufacturers and are designed to fit a wide range of vehicle models, including the 2011 Honda Accord.
While aftermarket alternators are typically more affordable than genuine alternators, their quality can vary. It’s important to research and choose a reputable brand that offers reliable performance and meets or exceeds OEM specifications.
When deciding between a genuine alternator and an aftermarket alternator, consider factors such as your budget, the level of quality and reliability you desire, and the warranty offered.
If you want to ensure a perfect fit and peace of mind, a genuine alternator may be the best choice. However, if you’re comfortable with a trusted aftermarket brand, it can be a cost-effective solution without compromising performance.
Importance of Regular Alternator Inspections
Regular alternator inspections are crucial for maintaining the overall health and performance of your 2011 Honda Accord. Here’s why scheduling routine inspections is important:
1. Early Detection of Issues
Regular inspections allow for the early detection of any potential alternator issues before they escalate into major problems. By identifying and addressing minor issues promptly, you can prevent more extensive damage and costly repairs.
2. Prevent Unexpected Breakdowns
A failing alternator can leave you stranded on the side of the road with a dead battery. Regular inspections help identify any warning signs or underlying issues that could lead to a sudden breakdown.
See Also: Catalytic Converter 2002 Honda Accord
By addressing these issues beforehand, you can avoid the inconvenience and potential safety hazards of unexpected breakdowns.
3. Prolong Alternator Lifespan
Regular maintenance and inspections help keep your alternator in optimal condition, prolonging its lifespan. By addressing any issues promptly and following proper maintenance practices, you can ensure that your alternator operates efficiently and reliably for years to come.
4. Preserve Electrical System Performance
The alternator plays a crucial role in powering the electrical systems of your Honda Accord. Regular inspections help maintain the performance of these systems, ensuring that your lights, radio, air conditioning, and other accessories function properly. By taking care of your alternator, you can enjoy a smooth and comfortable driving experience.
